
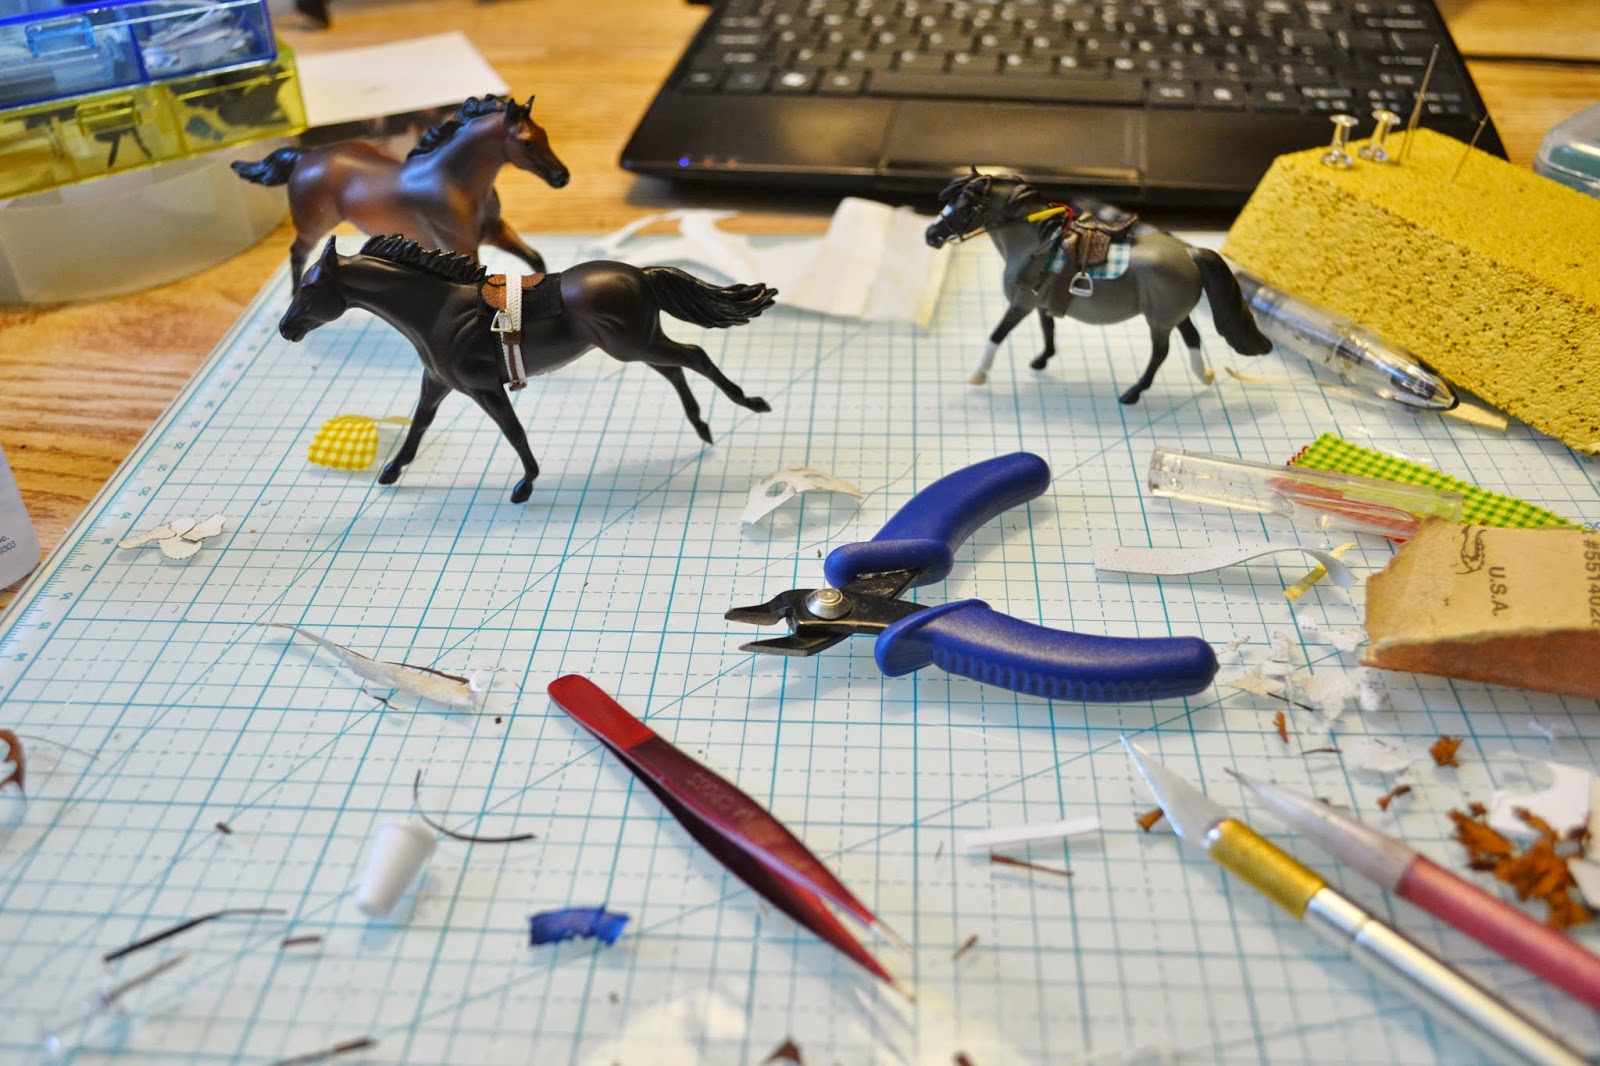
This week, I got my hands on some high-quality leather paint, a G2 TB body, and Secretariat on DVD. The procrastination is over!

With any kind of colorful or unique specialty tack, I prefer to try and replicate a real tack set rather than just throw together whatever color combinations and designs I want. My first thought was a California Chrome portrait set.
 |
| via |
But it's impossible to be watching Secretariat, making racing tack, and not be making Secretariat's tack.
So I cobbled together some reference pictures...
 |
| via |

One thing I love about mini tack is how you can get away with shortcuts and little cheats; because who wants to actually try and buckle a 1/64" tongue buckle?? So one of the things I look for when I'm making a new kind of tack, is how I can make it faster and easier to tack up. As a performance shower who likes to try and get the same mini into more than one class, I appreciate the need for speedy tack changes.
Which is why it bugs me that this saddle actually requires you to buckle the overgirth. Given, it's a pretty big buckle by mini standards, but still! I guess my comfort is that this is a mold who's somewhat less likely to be showing in every single other performance class- you're probably not going to have to strip this tack off of him to get his hunter outfit on. (Of course, now that I've said that I'll figure out a way to get this guy into a hunter class.... sigh...)

One aspect of Big Red's tack that I was excited to try is his blinker hood. I dug through my bag of scrap fabric, trying to find something light colored that would take well to paint (because finding fabric with this scale of blue and white check seemed like a stretch), and came up with this weird canvas-y, pleather-y material that my very very first saddles were made of.
As for the pattern, I whipped out my fabric paint and masking tape and took probably half an hour masking off the tiny check, in hopes that the tape would help the paint create sharp edges and clean lines.

Not so much.
Thoroughly frustrated, I painted the hood back to white, and figured I might as well try painting the squares by hand.
 |
| Here there be evidence of pony reins... |
Better!

The little eye cup things (clearly I'm a racing expert) are carefully cut and painted bits of soda can.

Which doesn't actually look too bad.

Making something for the first time is always a great learning experience, and now I have a good idea of what I would need to change for my next blinker hood. Because this set is so much fun, I'm sorely tempted to make that California Chrome set a reality...
Because I just don't have enough on my plate!
I had fun with the leather paint to get some awesome blue bridle action...

I had a lot of reservations about using paint instead of leather dyed all the way through, but I am SO pleased with how this stuff came out. The paint itself is about the consistency of nail polish, so it makes a nice smooth finish on the straps- and so far, zero flaking or peeling or rubbing off or any other nastiness. And each strap needed a lot of fussing with after painting (adding tongue buckles, etc), so that's saying something!
Another detail of this bridle that I'm pleasantly surprised with is the use of 1/16" etched D rings for the bit- it's a refreshing change from wire, that's for sure.
So it's off to MH$P with this set! Though honestly, if it doesn't sell pretty quickly I would not mind keeping it and bringing it to my next show.
I love this set!!!
ReplyDelete