Thursday, July 31, 2014

Brown Paper Packages

I get so excited over the stupidest stuff.

Because really, if you order or buy tack from me, you're probably most interested in the tack itself and would be satisfied with whatever means of transport it arrived to you in, as long as it was undamaged.


But packaging! I LOVE packaging! And figuring out studio colors, and design aesthetics, and fonts, and logos, and all the little things that don't technically have anything at all to do with my tack itself. They might not even have to do with good marketing, or attracting more customers or seeming professional, but honestly I love them anyway.


I guess I just think that touches like cute packaging (which is extremely fast and inexpensive on my part) show that I care enough about my work that I actively want to go the extra mile to make sure you see that effort from the moment your package arrives.

And it's just so goshdarn fun.


So today the tan hunter set got a cute box of its own and is off to its new owner, which is an awesome feeling. The more stuff moving off my desk, the better!

Annnnd the eventing saddle got some piping and sexy black stirrups, but no D rings. By the time I'd taken the entire thing apart last night, I was too frustrated with my knee roll design (and the saddle in general) to figure out how to surgically install D's; so back together it went without them. Which means the set will come with a running martingale instead of the standard breastplate I had prepared, which will actually be pretty fun on my part, considering I've never done one before.


Figure 8's are hard. That is all.


Wednesday, July 30, 2014

Sneaky Peaky

I get a lot of different reactions when I tell people I make mini tack, but most of them are along the lines of, "You're crazy!"


Which is fair.


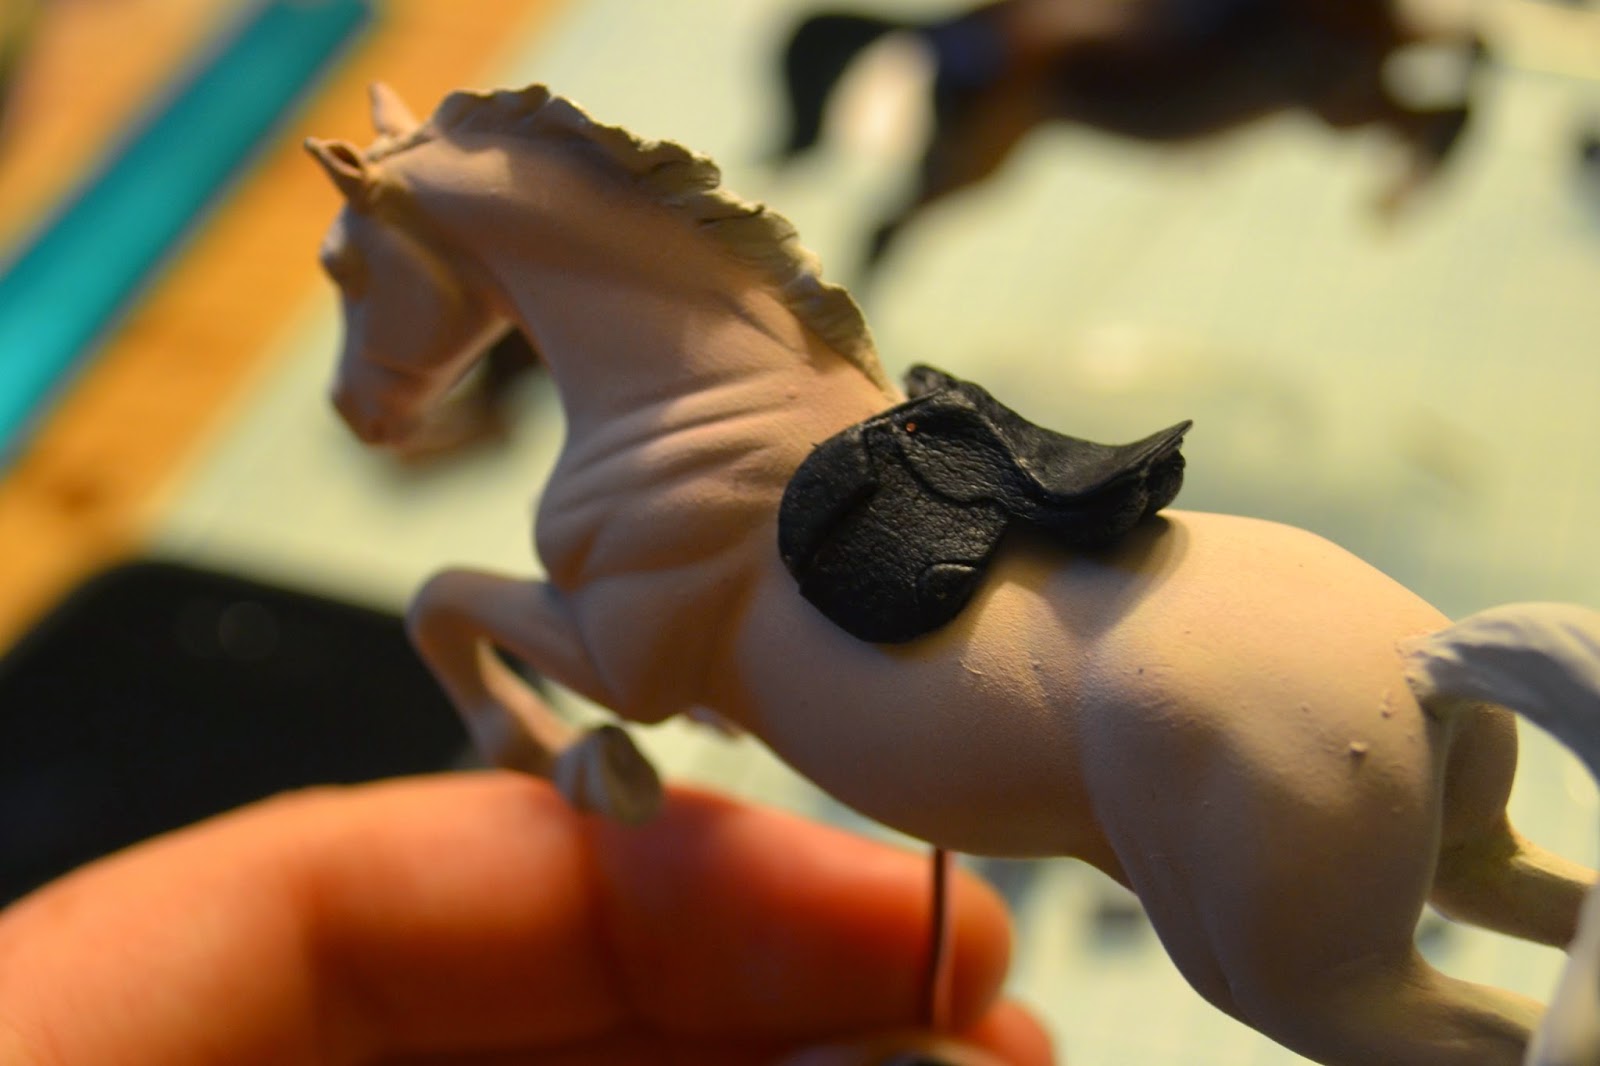
Even if I'm not insane, I'm definitely a member of a very small club of mini tack makers who could look at this saddle and just want to tear their hair out because I FORGOT something!


Nope, it's not stirrups (I didn't reach that phase before I caught my mistake).


This is the saddle that goes with the sale set I'm working on, which is angled to be a high level jumper/eventing set. I must've been so focused on the thigh blocks and Orange is the New Black that I totally forgot D rings.

How could I forget D rings?? On an eventing saddle??? I mean, I've already made the breastplate that buckles to those D rings for Pete's sake!

Ah well. Since these pics were taken, the saddle's already been completely taken apart. Focus, Grace, c'mon!

(I don't know exactly when or how I'm going to sell this set, but it'll probably be a MH$P item with additional pics here. Or maybe I'll offer it directly through the blog for the first 24 hours before I list it to MH$P? I don't know. I'm still bummed about my freaking D rings.)

How to (Actually) Lace Reins

I have another rein to lace today, and I figured there might be inquiring minds wanting to know how that's done- so here's a quick n' dirty tutorial! I have no idea how helpful this will actually be, but I gave it a shot.


First, some required reading:
Done reading? Understand the basics of how laced reins look in real life? Great.

Worth noting:

Braymere does have an excellent laced rein tutorial of her own right after that post, and I imagine it would work excellently for Traditional scale reins, but there's a couple adjustments to be made for mini scale. Speaking as someone who's attempted her method on SM reins, (and every other method I could think of!) lacing leather with leather is actually easier. In this scale, messing with trying to punch holes without breaking your strap, or pulling a needle through that tiny lace, is just too much of a headache to deal with. Making little tiny slices in the rein looks just as clean when you're done, and doesn't put so much stress on your lace. Off we go!

What you're gonna need:
  • Very, very thinly skived skiver cut into lace and sealed with Gum Tragacanth- a wider width and a width about half or a third that wide. Here's how I've been cutting my lace lately.
  • X-Acto knife (very sharp! Don't be afraid to replace your blade if it hasn't been updated in a while... I change my blades probably twice a week!)
  • Regular ol' Tacky Glue
  • Tweezers with an itty-bitty tip
  • Your favorite flavor of lemonade to sip
  • A peaceful album playing gently in your studio (last night I was totally zen-ing out to the "Peaceful Indie Ambient" playlist on Spotify)
  • Optional: a bridle to complement your awesome new reins.
First, cut your lace down to what looks like a good rein length. I usually eyeball this based on the specific horse the bridle's for, but a general rule of thumb is that the rein should be long enough to secure to the bit and reach the cantle of the saddle. (Remember, English reins are actually two parts buckled together- right now you're just cutting one half). 

Then, make little fingernail dents or other marks to indicate where the lacing should start and end. Because you know where that should be, because you read the required reading, right?

Cut your narrower lace to two copies of a length that's about one and a third times as long as the section you marked off for lacing, and set one section aside for now.


Starting on one of your marks, use the tip of your X-acto knife to make itty, bitty slices right down the center of your wider lace. To avoid breakage, leave a space about as long as each slot in between each cut.


Drawing time with Grace

Use the tip of your tweezers to gentle wiggle open the first slot. Cut the tip of your thinner lace into a point, then feed it through the slot you've opened, going in the good side of the wide lace and coming through to the flesh side.


Glue the little bit of thin lace you poked through down the the center of the flesh side of the wide lace, good side of the thin lace to flesh side of the wide lace. Then take the long end of your thin lace and drape it over the wider lace.

(Shaded or scribbled areas represent the flesh side)
Use your tweezers again to open up the next slot, and poke the end of your thin lace through.

(The tail of your thin lace will be much longer, I was just lazy)
Repeat this procedure for each slot, looping the thin lace over the same edge of the wide lace. You're always poking the thin lace through the flesh side of the wide lace, and pulling it through the good side.


Continue this through all the slots you cut!


When you reach the end, trim your lace down and glue that little end tab down to the flesh side of the wider strap. If your rein is wanting to twist and spiral at this point, don't worry! The other half of the lacing should take care of that.

Find the other piece of thin lace you cut before, and repeat the exact same process on the other side of the rein. Glue the end down right exactly on top of the starter end of the first piece (on the flesh side). 


Use the same slots you cut for the first half, and loop your lace over the other side of the rein. Just like before, you're poking your thin lace through the flesh side of the wide lace and pulling it through to the good side, making sure the good side of the thin lace is up when you pull it tight.

Once your rein is laced through on both sides, it might still want to be a little twisty. Smooth some Gum Tragacanth over the whole thing to get it nice and wet, then lay it on your tabletop to dry neatly flat.

Cut another length of wide lace, and repeat the whole process again! When you have two laced reins, add a little buckle to the end of one, buckle the other one through, attach the ends to the bits, and voila! Reins!


Go forth and take the hunter ring by storm.

I hope this was somewhat follow-able, and as ever, if you have any questions or suggestions for future tutorials, drop me a comment!


Tuesday, July 29, 2014

How to Make an English Bridle

1. Take some leather.


2. Cut it into strips.


3. Add detail.

(The browband isn't finished. Shhh.)

 Throw some lacing on the reins for extra pizzazz!


(Thank you for tolerating my humor. Look for some serious tack tips soon!) 

Monday, July 28, 2014

For Me?!


Finished my saddle!

I can't even remember the last time I made tack specifically with myself in mind. All the tack I've had previously has always been a "I'll keep it until after the show" kind of deal (or, "oops I need money").


I find it funny how every basic hunter saddle I turn out is made based on the exact same patterns, but just going through the process of eyeballing and teensy tiny tweaks, comes out so differently from the last.


And a peak of it on the Fjord monster:


 And an obligatory Fjord monster updated shot to go with:


He still has a long way to go, but boy is he growing on me. :)

Also done today with no photographic proof because all the pictures I tried to take in the studio today ended up looking like this...

Yuck.
The replacement girth is done, as is about half the tan bridle's crownpiece and a solid start on the first Fjord bridle.

Progress! Yay!


Sunday, July 27, 2014

Studio Update: July 27

Well.


Some tack-type things did get done today.


But most of my free time was spent listing some old bodies and work-working.


Here's to a more tacky tomorrow!

Saturday, July 26, 2014

Studio Update: July 26

At least 90% of my productivity can be attributed to my music. There's almost never a time in the studio when foundation-rattling tunes aren't being played- so instead of counting hours, I keep measure time throughout the day by songs, albums and playlists.


This noseband took about as long as Nevermind...

(Of course I only notice that it's twisted a little now...)

...And these stirrups took about 10,080 songs to get to me from England.


About halfway through Back in Black I noticed the happy accident that the Breyer Youth rider fits this particular saddle pretty decently!


Less convincing from the side, but considering the fact that 99% of my saddles in no way fit any kind of rider doll, this is a mini win.


This fuzzy girth only took about half the duration of Houses of the Holy to finish...


...But I fell into the old trap of "oh, I'm sure the pattern will fit!" and not measuring the girth on the horse before I lined and finished it... Way too wide on this saddle! Ugh!


So a replacement is on the to-do list for tomorrow. Well, now I have an extra tan girth if ever I need one. (Woo for looking on the bright side?)


A+ photography

The Fjord monster sucked up about Zeppelins I-IIII receiving his first few coats of paint/pastels, and still has a long way to go before he gets fitted for a harness and no less than THREE different bridles.


And I reckon it'll take both sides of Hello Goodbye/I am the Walrus to clean up this mess!

All I need to do tomorrow is finish that second girth, make the crownpiece and reins for the tan bridle, and figure out a pad and then this tan set will be off my desk and finally off to its new home. It'll feel so good to have that one done!

Tuesday, July 22, 2014

Studio Update: July 22

I was supposed to spend today in the city, but that got pushed back and ponies happened instead.

Lots of little things happened.

I got the new "Show Stoppers" Stablemate set, thinking it was perfect because I need a) a TWH for tack fitting and possibly to throw in the saddleseat class (I have a cutback saddle floating around my tack box somewhere...) and b) because it has the pretty strawberry roan mare I need for my accidentally-on-purpose conga.

The TWH's color is okay, but ugh Breyer! What are these seams??


Did you even try??


I'm pretty lenient about the condition of my OF performance horses, thinking that the tack and overall correctness of the entry makes a few little flaws easy to overlook, but this guy is awful. No saddleseat entry for me!


Luckily, the roany mare is lovely.

In other "ugh, Breyer!" news, I'm making myself a performance horse.

Now, I am not a customizer. Realistic customs just do not come naturally to me, and I lack the patience and skill to turn out a really clean, sharp product that so many other hobby artists do. The only customs I do are for myself (usually), and intended to be performance horses that are granted the same forgiveness as flawed OF's: maybe the judge will be so impressed with the tack and props that they won't notice how bad the horse is?

All this meaning I have a project on the customizing seat of my table, and I am cursing Breyer's awful paint job. This guy's spots are globbed on so thick that I needed to sand the entire horses's body to get it smooth enough to prime! Ugh, Breyer!


I know, I know, but let's call him quirky. He's in the process of becoming a Fjord... 


But his size and general flawedness makes him more like a Fjord cross.

...mostly because I love Fjords, but also because their amazing manes can slide them into your braids-required and braids-prohibited classes alike. Fingers crossed after he gets his fuzzy forelock and Fjord-y paint job he'll clean up better!

Moving along, actual progress was actually made on the roping set.


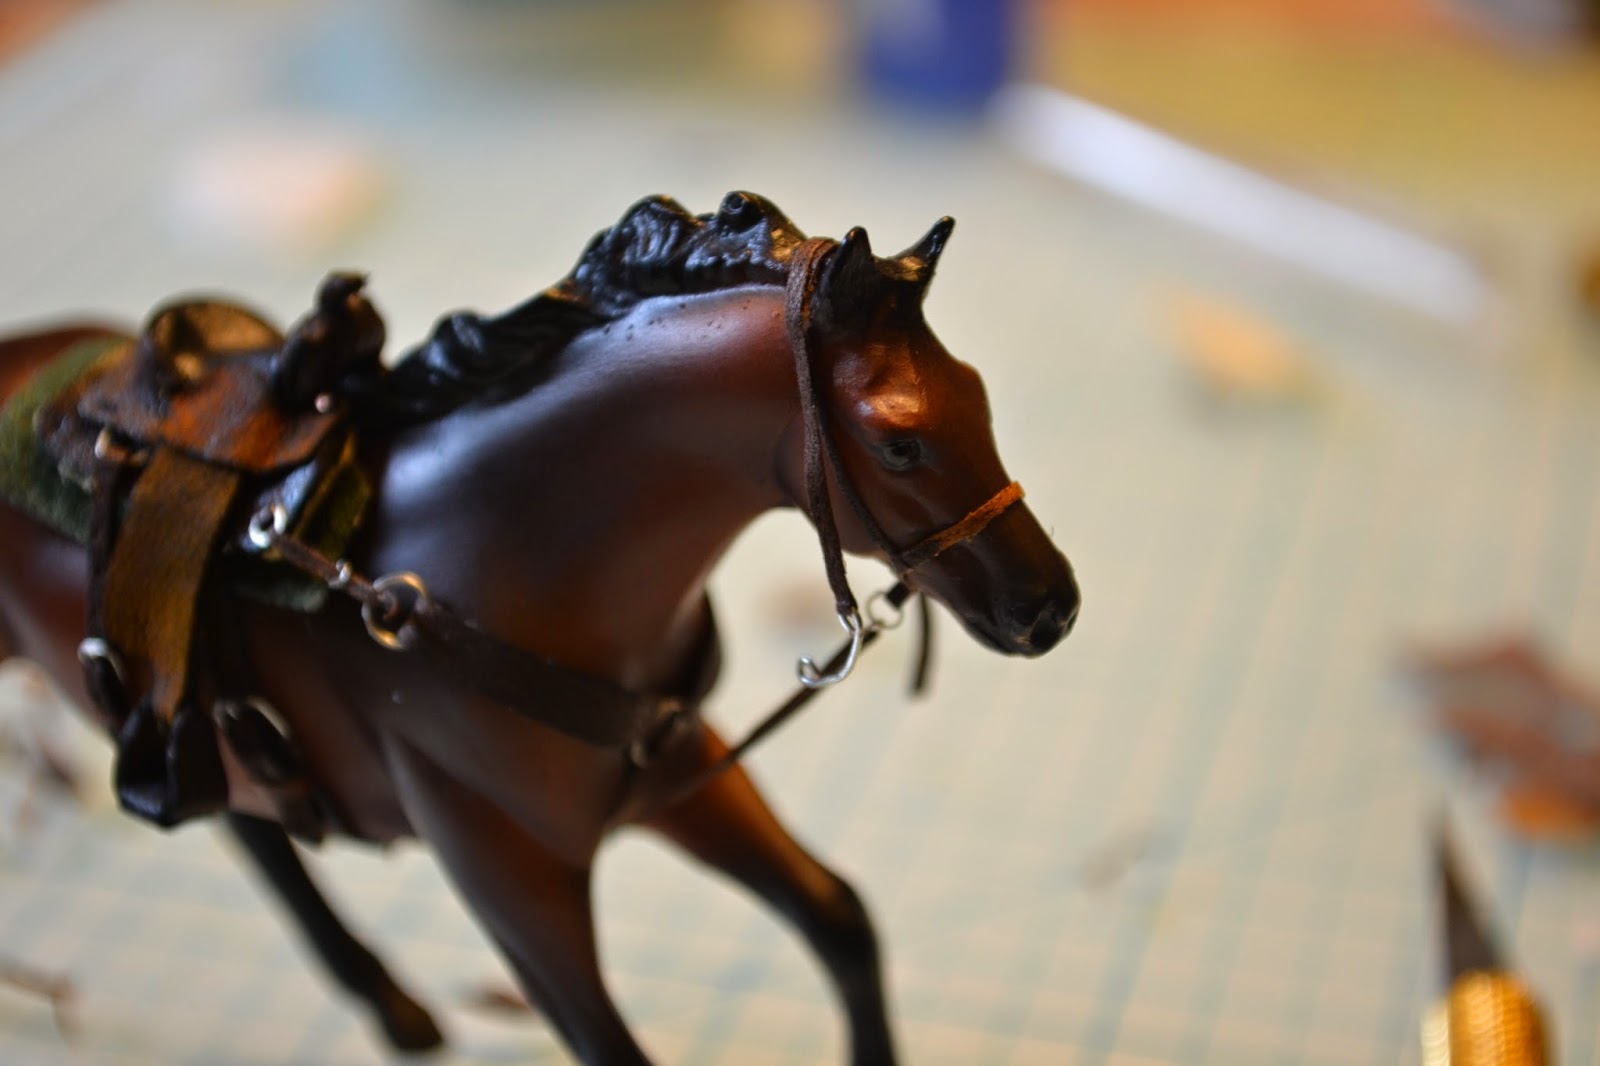
Now we have a breast collar, tie down and about half a bridle!


Both the tan English saddle from yesterday and my brown hunter saddle got attention, too, just in little ways that don't look very impressive in pictures.

And finally...

Itty bitty Pony Clubber!


I really love prop making. It's actually a service I've considered offering on a commission basis in the past, and maybe will again in the future if I ever find myself with a completely empty desk and too much time on my hands. And the probability of that happening, let's be honest, is pretty slim. ;)