My geeky thirst was not satisfied by the Nazgûl project.
I had an itching to create some kind of Lord of the Rings inspired jump, and after sketching various different ideas, I ended up with an entirely new concept.
Which is a bit of a hybrid between a Hobbit hole...

...and a cross country bank jump:

With a full head of steam and a convenient copy of Maggie Bennett's "Tabitha" sculpture on hand, I got to work hacking away at some good old pink foam.

The next step was to build up the slopes of the hills coming down on either side of the "jump" area, like so:

After which I actually ended up building up more crumpled newspaper and masking tape on the top part to create a downhill slop toward the drop.
My favorite part was busting out the plaster cloth and covering the whole thing, which made a massive difference:

Next I added a little circle cut from an old cereal box for the door, and two bitty half-circles to mark where the windows would be. I also started sketching in the arch of the support over the house, and the little path leading up the hill.

The apoxie came out to add tiny little stairs climbing up the side of the hill, and the little bricks around the door and windows.

I used the same cereal box cardboard to make the little overhang outlining the house, and bitty supports on either side of the door. Then the plaster of paris was busted out to smooth the whole thing over and make it feel more like one organic thing.

And then begun the ugly phase. I knew I wanted to pretty much cover the whole thing in grass and bushes and terrain-y things, so I wasn't too worried about its surface being perfect, but I did need to figure out some base colors to put down under the plant-y stuff.
First came a rough mapping out of which areas would be which color:

Before I figured out a some more natural undertones.

And finally, grass!

The grass is made with the same method I used for the Nazgûl's little base, just on a much larger area. That means that all of this grass is hand-cut jute twine- I actually have bruises on my knuckle and finger from spending so long with my scissors!

About 3/4 done with the grass here.
(That's as far as I got in 2015. From here is the new additions!)

When working on all that grass got tiring, I turned to making all the little props I envisioned the Hobbit hole having. I conveniently had a collection of tiny fake flowers from my performance stash, and put them to work in pots sculpted from Apoxie, fixed onto shelves made from cereal box cardboard (a surprisingly great material!).
Even after all that procrastination, though, I realized my issue with the original grass I had been adding was less with the process it took to make and more with the color- it was too pale and washed out for the lush green scene I had envisioned.
So I ended up mixing in that jute twine grass with Woodland Scenics flocking of a few different greens and covering the whole thing with that new mixture. Here's the whole thing as it looks today:

I've been having a blast re-visiting it. Micro dioramas might be my favorite thing to make because they involve so many different processes to come together; props and tack and painting galore.
My little Tabitha was prepped and pastelled to my favorite shade of dark bay (unfinished here):
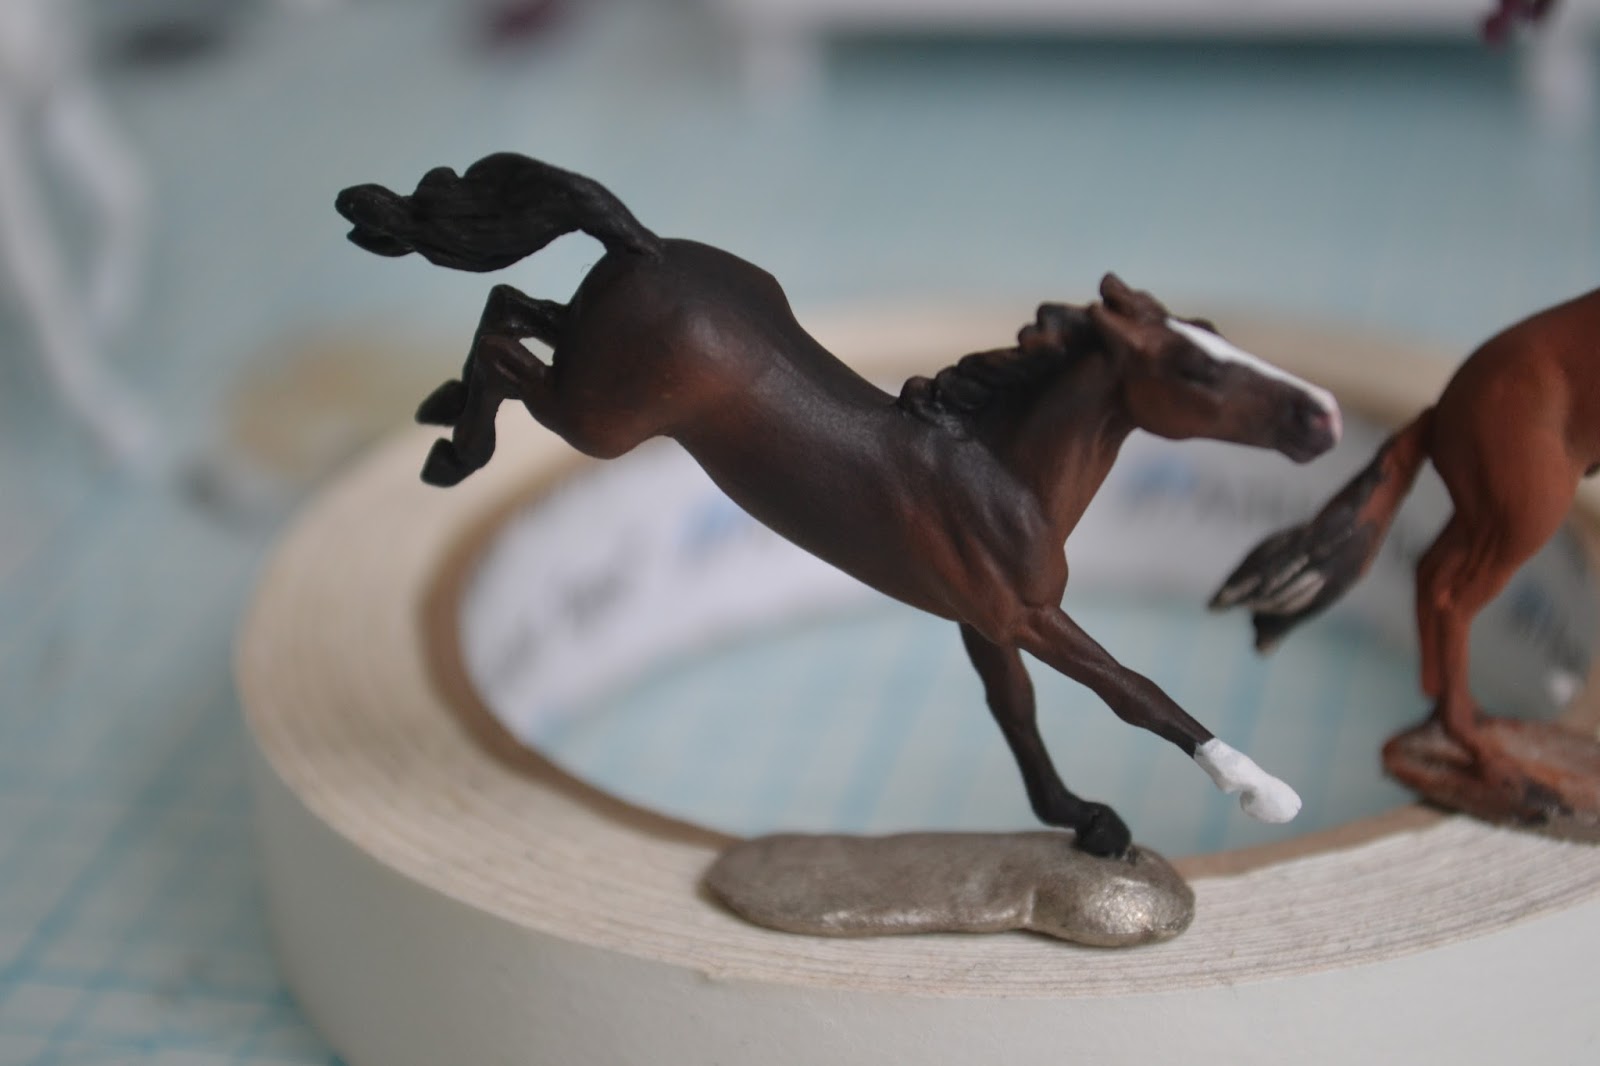
With a few other micro friends that may or may not find their way into other projects...

In a fit of inspiration, I totally forgot to take more progress pictures as the scene came along. Mostly, I just added tons and tons of mixed greenery, finished painting the front of the house (I decided a sunny yellow door seemed more appropriate than the original blue), and affixed all the little props into place.

The little stones under the door are uncooked quinoa- gotta love the DIY on a budget mentality!
I've been trying to be better about taking scale pictures with tiny projects like these to better convey their teensy-tininess...

And of course my jumper needs a full set of eventing tack. Today I tackled the bitty saddle and modeled it on my pinky.

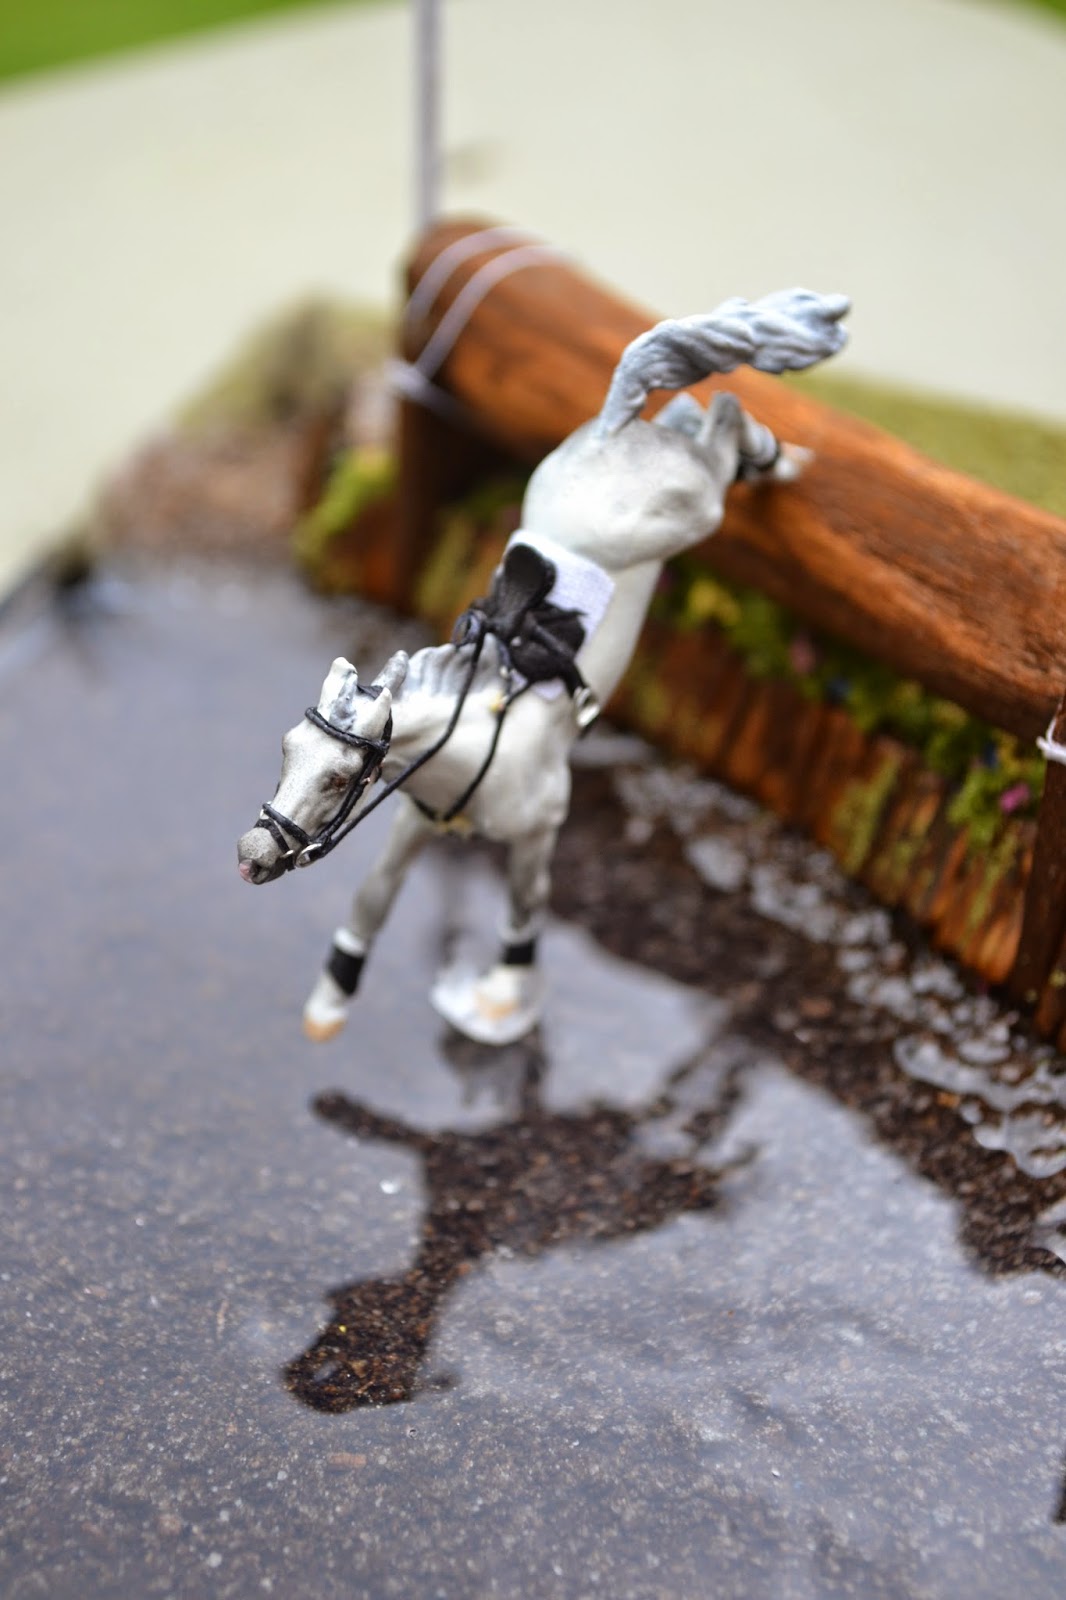
And finally, the most up-to-date status pics. There's still a lot to do, and a lot of adjustments to make (I definitely need to push the flower pot shelves back against the house so they're more believable on a real cross country course; as it is now I think they seem kind of dangerous to land on!), but I'm really happy with how it's looking.

This little structure at the top will be a clothes line with some sort of laundry hanging to dry, which would terrify any horse I've ever met and therefore seems appropriate for this challenging course.


After the horse has all her tack on, I'm devising some kind of wire system to keep her better rooted to the ground, less likely to tip, and hopefully hold her at a higher angle so her back hooves don't touch the top of the jump. We'll see how that goes!