Monday, July 14, 2014

Secretariat Shots


Off to the Races

A long, long time ago, I made a set of racing tack. I have no photographic evidence of said tack. It was so bad, that it became a pride thing with me to create another, better, racing set to redeem myself. Of course, I'm an expert procrastinator and this got shoved to the bottom of the to-do list.

This week, I got my hands on some high-quality leather paint, a G2 TB body, and Secretariat on DVD. The procrastination is over!


With any kind of colorful or unique specialty tack, I prefer to try and replicate a real tack set rather than just throw together whatever color combinations and designs I want. My first thought was a California Chrome portrait set.

via
But it's impossible to be watching Secretariat, making racing tack, and not be making Secretariat's tack. 

So I cobbled together some reference pictures...

via
And got to work!


One thing I love about mini tack is how you can get away with shortcuts and little cheats; because who wants to actually try and buckle a 1/64" tongue buckle?? So one of the things I look for when I'm making a new kind of tack, is how I can make it faster and easier to tack up. As a performance shower who likes to try and get the same mini into more than one class, I appreciate the need for speedy tack changes. 

Which is why it bugs me that this saddle actually requires you to buckle the overgirth. Given, it's a pretty big buckle by mini standards, but still! I guess my comfort is that this is a mold who's somewhat less likely to be showing in every single other performance class- you're probably not going to have to strip this tack off of him to get his hunter outfit on. (Of course, now that I've said that I'll figure out a way to get this guy into a hunter class.... sigh...)


One aspect of Big Red's tack that I was excited to try is his blinker hood. I dug through my bag of scrap fabric, trying to find something light colored that would take well to paint (because finding fabric with this scale of blue and white check seemed like a stretch), and came up with this weird canvas-y, pleather-y material that my very very first saddles were made of.

As for the pattern, I whipped out my fabric paint and masking tape and took probably half an hour masking off the tiny check, in hopes that the tape would help the paint create sharp edges and clean lines.


Not so much.

Thoroughly frustrated, I painted the hood back to white, and figured I might as well try painting the squares by hand.

Here there be evidence of pony reins...

Better!


The little eye cup things (clearly I'm a racing expert) are carefully cut and painted bits of soda can.


Which doesn't actually look too bad.


Making something for the first time is always a great learning experience, and now I have a good idea of what I would need to change for my next blinker hood. Because this set is so much fun, I'm sorely tempted to make that California Chrome set a reality...


Because I just don't have enough on my plate!

I had fun with the leather paint to get some awesome blue bridle action...


I had a lot of reservations about using paint instead of leather dyed all the way through, but I am SO pleased with how this stuff came out. The paint itself is about the consistency of nail polish, so it makes a nice smooth finish on the straps- and so far, zero flaking or peeling or rubbing off or any other nastiness. And each strap needed a lot of fussing with after painting (adding tongue buckles, etc), so that's saying something!

Another detail of this bridle that I'm pleasantly surprised with is the use of 1/16" etched D rings for the bit- it's a refreshing change from wire, that's for sure.

So it's off to MH$P with this set! Though honestly, if it doesn't sell pretty quickly I would not mind keeping it and bringing it to my next show.


Sunday, July 13, 2014

The Building Blocks: Hardware

When I say hardware, I mean anything in a tack set that is made of any type of metal or metal-like material.

Starting with my favorite: stirrups.

Old picture, I know I know
Your options for Stablemate scale English stirrup irons are basically limited to these guys from Horsing Around over in the UK, and the ones The World of Model Horse Collecting carries on eBay.


Anna Kirby compares them in detail here, but for me the bottom line is that HAUK's irons have a better shape, size, and price (which is nice when I'm usually buying ten pairs at a time!). 

Of course, if you don't want to drop money on cast irons, you have other options. Some people are talented enough to make attractive stirrups from bent wire, or you could try your hand at sculpting your own.

My sculpt on the left, HA iron on the right.
The only other fancy cast hardware a set could need is a bit. All of my past bits have been made of wire, but earlier this week I took the plunge and ordered a full cheek snaffle from The World of Model Horse Collecting (TWMHC). They carry a few different styles of mini scale bits, but I figured a full cheek would be the hardest to make on my own.


And everything else- all my buckles, D rings, you name it- is wire.


26 gauge is the heaviest, used for making bits and nailheads. Then there's 28, which I used to use for everything else, but now is saved just for D rings, breastplate centers, and other in-between size things. And finally, 32 gauge, which is what all my buckles and tongues are made of. It's thin enough to look in scale on a tiny strap on a mini's face, but sturdy enough to hold its shape.

28 gauge wire bit and 32 gauge wire buckles and tongues.

And I'm actually considering getting myself even smaller wire specifically for the buckle's tongues (which, on real buckles, are thinner than the rest of the buckle). But then it would be too flimsy? Maybe? I don't know. Better try it and find out!

Makin' our way through the shopping list:

  • HAUK stirrups
  • TWMHC stirrups (she also carries some nifty gold-plated ones that I've been tempted by more than once...)
  • My current supply of wire is equal parts from Micheal's, eBay, and my local beading store. Any jewelry making or art supply store probably has what you need! If you buy online, make sure you're signing up for jewelry making type wire instead of house repair/electrical wire- the latter will still work, but I prefer the cleanness and shine of jewelry-grade stuff. 

Next up is tools, supplies, and everything else!


Saturday, July 12, 2014

The Building Blocks: Dye and Lace

Kind of a part two to the last post.


One thing that's always in my Rio Rondo orders is leather lace. RR sells it in five different colors and five different widths, but I really only ever need the thinnest size, 1/16".


(And sometimes 3/32", on the right, for parts of harnesses or what have you)

While in big tack, you use lace off the spool for pretty much all your strap goods, in mini tack, I cut most of my own lace from the dyed piece of skiver I'm working with. This is mostly to make sure the straps are the same color as the rest of the set- 99% of my tack is some shade of brown, but RR only supplies one, one-size-fits-all "brown" color.

So I end up only using RR lace for black strappy things (black always matches black!), and harnesses or halters or other things that don't need to match something made of skiver. I wish I could use it for all my straps, because it's so, so much easier to prepare lace than it is to cut your own, lace is stronger and less likely to rip even at these teensy tiny widths, and RR's lace will always be a more consistent width than what I cut. But alas.

Lace bridle, stirrup leathers, and billets on this set.

And still, the 1/16" is about halter width on a mini's face, so I end up splitting it for the huge majority of my straps anyway. (I think I'll have a post just on cutting lace from skiver, and splitting spool lace, at some point. Hopefully.)

[insert clever and relevant segue here]

Dye!


I love dye. I love dyeing. It's just a favorite.

This is another thing I get from RR, but mostly because it's convenient to lump them in with the rest of my order. There's tons of places out there that carry Fiebing's. I actually just treated myself to three fun new colors from a supplier on eBay, seeing as I have six whole square feet of leather to dye and use. 


My illustrious dyeing station- some paper bags on top of a plastic bin lid on top of a bunch of crap in my garage. Whatever works!

I've only ever used Fiebing's "Leather Dye" in the past, but I've heard that their Oil Dye is supposed to be better, so I ordered some up for myself. It's drying as I type, but I have high hopes! So far my only annoyance is that the Oil Dye, which is about a dollar or so more expensive than the Leather Dye, doesn't come with a dauber while the Leather dye does. Why, Fiebing??

So check off our supply list:
Other helpful stuff:
  • How to prepare your spool lace (Braymere's tack tips are responsible for at least half my tack making knowledge, and links to her blogs will definitely be a regular thing here)
  • One way to dye your leather (with skiver, I find it's easier just to apply dye to the rough side and let it soak through, then go back and add more to the grain side if it needs it)
  • How to cut your own lace (Anna Kirby is what I aspire to be in life. Her tack makes me cry, but in a good way.)
Next up: hardware!


Friday, July 11, 2014

Pony Pics

Hot off the desk and ready for a new home!

7/16 update: SOLD and off to a happy new owner. :)


The Building Blocks: Leather

Welcome to the first post in a series about what I stock my studio with!

First off, some different perspective: The blogging goddess, Jennifer Buxton, has this exact kind of series over on her blog that I may or may not be totally copying inspired by with these posts of my own. If you're into "big" (hey, if Traditional people can call Stablemates minis, then Stablemate people should have a word for Traditionals) tack, that's an excellent resource to check out. Her blog in general is solid gold.

Before I dive into my thoughts and feelings and information about leather, I have to get this rant out of the way:

By and large, this hobby (and especially performance) is a Traditional/Classic scale game. "Big"-only people are far more common than mini-only people, and the halter and performance ring alike are dominated by "big" pieces. And there's nothing wrong with that! I completely understand; in 1:9 and 1:12 scale, there's just so much more room, and it's easier to fit a more detailed paint job or piece of tack onto something big enough to clearly see. I love my bigs. They're just the right size to feel just perfect and satisfying in your hand, not to mention how welcome they are as a break from staring at minis all day.


Breyer is the roots of this beautiful tree of a hobby, and they're big on pushing Traditional scale horses harder than any other scale, and have always been. You'll notice that "big" models are marketed as collector's items or pieces of artwork, while Stablemates are usually peddled as kid's toys. Not to say that there aren't some beautiful mini customs and amazing mini artist resin sculptures, but generally speaking, "bigs" are much more widely accepted.

(here comes the part where I get to the point of my post)

What all this means as a mini tack maker is that there aren't as many resources marketed directly to tack making. Hardware, for example, is something you can find tons of on Rio Rondo or The World of Model Horse Collecting-- for bigs. They just don't make mini scale hardware in the same quality and variety! The greater demand for bigger scale anything is magnified when it comes to tack, because even those who are cool with collecting minis and showing halter, don't necessarily want to go out and make tack for them. Understandably.

And all of that blabber boils down to: mini tack makers are a creative bunch. We can't just order some nice shiny D rings or curb bits from RR; we have to figure out how to make them from scratch. Which, for me, is just another part of the fun. :)
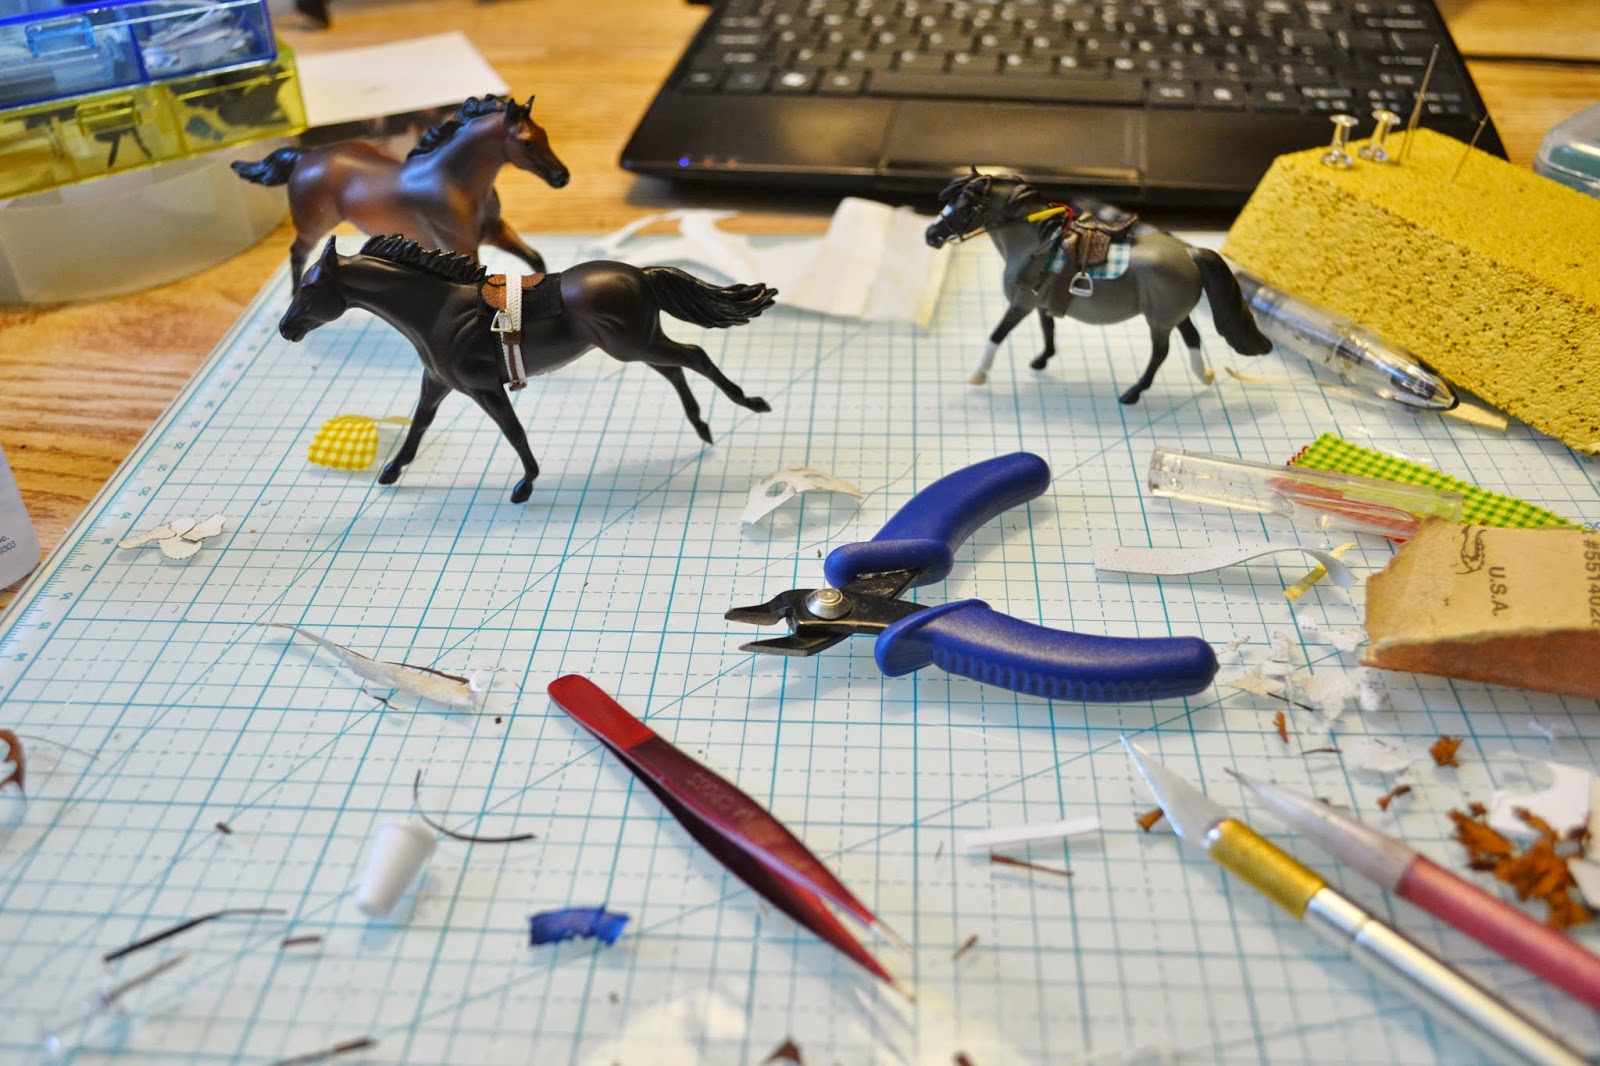
Let's talk leather.


While in big tack, you generally need two different weights or thicknesses of leather to work with- tooling leather or calf for the bigger pieces, and thin skiver for smaller details and to cover things- in mini tack, I exclusively use skiver. The variation in thickness needed throughout the project is achieved by using unskived skiver (just how it comes shipped to me) for the thick pieces, and skiving and sanding it down when I need it thin.

For most of my tack making career, I've made everything from the skiver Rio Rondo sells


This is nice stuff. It's a nice natural, "buff" color, and one 5x6" piece is enough to make probably around five-ish mini saddles and girths, plus some boots or saddlebags or something.


But after ordering countless pieces of this stuff for $4.50 a pop, I began to notice my issues with the stuff more and more. For one, because it's just a small piece of a hide, you never really know what you're going to get. I've gotten RR skiver that was thick and stiff enough to almost pass as tooling leather, in the same shipment as a piece so paper thin I actually couldn't use it for saddle flaps. Also, sometimes you get a grain (the texture on the good side) so tight it makes a clean, smooth finish, and sometimes you get a grain big enough to look like alligator skin in mini scale.

Mmmm, grainy.
The variation isn't RR's fault, it's just the luck of the draw. Still, annoying to work with. I eventually came to a place where I figured that for the amount of the stuff that I was going through, I might as well invest in a big chunk that would last me a long time.

I did some googling, some online shopping and poking around, and finally settled on a hide of "pliver" off ebay that looked like it could be thin enough and have a tight enough grain to work for me. Plus, it was about $20 for six square feet of the stuff.

In case you didn't catch that, let's do some math.

RR's skiver is $4.50 for 30 square inches. That's 15 cents per square inch.

This pliver is $20 for six square feet, or 864 square inches. That's a little over 2 cents per square inch.

So you see my incentive.

After interrogating the poor seller on every aspect of the leather I could possibly check out without actually holding it in my hands (How well does it take to dye? What's the grain like? How squishy is it?), I took the leap.


With my luck, I fully expected it to be awful quality, completely unworkable, $20 down the drain. I mean, I assume from the name that this isn't real leather. Pleather, pliver, all very sketchy.

Well whatever you want to call it, and whatever animal or machine this stuff is from, I have hit the jackpot.


This massive piece is pure white in color, and the majority of it is about the thickness of a typical piece of RR skiver, which is perfect because that's the thickness I'm most accustomed to working with. 

But the real beauty of this stuff is how there's some variation in thickness throughout the hide- some areas are a little thicker, perfect for a western skirt, and some are paper thin, which saves me time and bloodsweat&tears skiving down the thicker stuff. I can see how this kind of variation would be obnoxious with bigger tack, when you would need to cut say, a saddle flap big enough to be uneven in thickness throughout, but when my biggest cut piece is one inch square, this works perfectly for me. 


The grain on the white undyed stuff is about as noticeable as the grain on undyed RR skiver, I'd say. Which isn't as small as I'd like it, but the amount of white leather tack I'm making isn't substantial enough for that to really be an issue. Because as soon as you dye this stuff, the grain fades. And because you're dyeing from a white base instead of a natural-tone base, the color really comes through the tone it's supposed to.


That's the RR skiver on the bottom, and pliver on top, dyed at the same time with the exact same dye in the exact same way. (The pliver was a test scrap for dye; most of it doesn't have those ridges).

I love how this turns out, because if I wanted that dark tone the skiver has on the pliver, I just have to go back and put another layer of dye on. But if I was hoping for the pliver's tone on the skiver, I'm out of luck and my $4.50 piece of leather is stuck with that dark, dark color.

In my experience with Fiebing's dyes on RR's skiver, the leather's natural softness and drape is killed as soon as it's dyed. It becomes stiff and kind of paper-y, and you need to work with it to get it to achieve a more relaxed shape. This isn't the case with the pliver- even with dye, it still feels like high quality leather.

Now, this isn't entirely a good thing. 99% of the pieces I cut for an English saddle get skived down from the skiver's original thickness. This process involves alternating between slicing the rough side of the leather horizontally to shave off thickness, and sanding it down to maintain an even thickness throughout the whole thing. On the stiff RR leather, this isn't really a problem. Tedious, yes, but manageable, and generally if I cut out a skirt shape then skive it, it'll still fit my saddle.

The softness and elasticity of the pliver makes this process a little different, because it likes to stretch out and grow as it thins. This makes its color lighter, and messes up the shape of a cut piece.


This pony saddle is the first completed piece made entirely from the pliver, and it's all made from the same piece dyed dark brown. You can see in the knee rolls (the thinnest pieces of the whole saddle, probably) that the color tone is noticeably lighter from all the stretching and thinning.

Luckily, I think this looks awesome.

So today we check leather off our supply list:


I was going to talk about leather lace and dye here too, but I think that'll be a post of its own. Stay tuned!


Monday, July 7, 2014

Hello Again My Friends

Yes, I figured out how to get back onto this blog! Huzzah!

Which is a very good thing because I have things cooking, and pictures of those things, and words to say about them.

Yes, I need a new saddle rack. Shhh.


I'm coming off of a really, really difficult and generally awful year that shoved all my plastic pony activities rudely to the side, and I'm just now entering a place where I'm ready to really dive back in with my whole self. I love making tack and I find a lot of pride and peace and contentment in the process, and it's all coming back to me like riding your most favorite comfy old bike.

Possibly the only perk of having my non-hobby life suddenly explode and force me to abandon it for a year is that I get to come back and have a perfect opportunity to start totally fresh. A lot of my tack making stuff got eaten by the craziness of said life, so I've had the pleasure (and pain) of completely restocking my entire inventory of materials and tools, totally redesigning my patterns, and setting up a new space.


(Yeah, it was that clean for about five minutes.)

Instead of taking on three or four commissions at once and trying to get them all done as swiftly as possible, I'm trying to focus on sleek design and high-quality pieces. I might take on one order later on this month or in early August, but for now I'm happy outfitting my own showstring, experimenting with new kinds of tack, and putting together sales pieces I'm really proud of.

In fact, I think three (?) of my sets are representing Stage Left at NAN this weekend, which is still mind-blowing for me. The demand for and positive reception of my tack has been the best welcome-back gift a girl could hope for. I finally raised my prices, to reflect the new quality of my work and to boost my "hourly wage" (cost of a set minus material expenses divided by the number of hours it took to build it) to closer to minimum wage. Well, now it's slightly above half of minimum wage, but I'll take it because tack making is definitely a better deal than working at McDonald's, and it's thankfully not my living income.

Anyway, the blog.

I'm thinking this place needs an update to match my updated tack and updated mentality. So expect some layout and color changes at some point.

For now, my goal is to post at least once a week with updates and progress pictures of what's on my desk, or tutorials or insights into tack making or my thoughts and hopes and dreams. It's gonna be kind of a mixed bag. The next few posts I have written are inspired by my recent need to completely repurchase all my materials, and it will cover what tools and supplies I like, where I get them, what I like and don't like about them, etc. I know a lot of tack makers have these kinds of posts, but I feel like the supply list is a little different for mini tack than it is for the big stuff. 

So. Look for those posts soon.


It's good to be back.